
Drafting a Project
In this section, you will learn how to easily create and draft your project. You will explore simple ways to create entities using the entities catalog and draw shapes such as polylines, rectangles and arcs. You will also learn how to create and use marked entities in bulk with presets.
Initialize Project
-
Click on 'Initialize Project' to begin creating a project.
-
Select 'Project Type' from the dropdown provided.
- Below are some examples of the project types:
- Building Permission
- Layout With Housing Gated Community
- Layout With Housing Without Gated Community
- Layout With Open Plots
- Below are some examples of the project types:
-
Select 'Authority' from the dropdown provided.
-
Provide 'Project Title' and click on Save.
Example
- Project Title: PLAN SHOWING THE PROPOSED CONSTRUCTION OF RESIDENTIAL BUILDING CONSISTING OF STILT+4 UPPER FLOORS ON H. No. 15-1/2,(PLOT No. 28 & 29 PART), IN Sy.No. 135, SITUATED AT LAKSHMI NAGAR, SAIDABAD, HYDERABAD. RANGAREDDY, TELANGANA.
-
A pop-up window will appear saying "Select a point where you want to add the project title".
-
Click "OK" and choose the desired location in the drawing workspace to position the "Project Title".

Draft a Project
- Click on "Create Entities"
- The "Entities Creation" panel will appear on the left, listing all the entities in a sequence typically used to draft a project.
- Example: Site Plan → Plot → Net Plot → Compound wall → Building ….
- The "Entities Creation" panel will appear on the left, listing all the entities in a sequence typically used to draft a project.
- You can "Scroll and Select" the required entity or use "Search" bar to immediately find the entity.

Create Different Shapes
Select and Create different shapes by using options available to the right of each entity.
Polyline, Rectangle and Arcs
- Polyline
- Rectangle
- Arcs


Create Arcs directly while creating Polylines.
- Select "Polyline" and right-click to choose "Arc" or select/type "Arc" in the command bar.
- To switch direction of the arc, hold down the "Ctrl" key.

Navigation, Auto Indexing & Color Indicators
- New entities you create will be auto-indexed and added to the "Entities Creation" panel.
- The new entity gets Automatically highlighted in the drawing workspace when selected in the panel.
- Identify and cross-reference elements effortlessly with color indicators next to each entity.
- No need to memorize color codes!

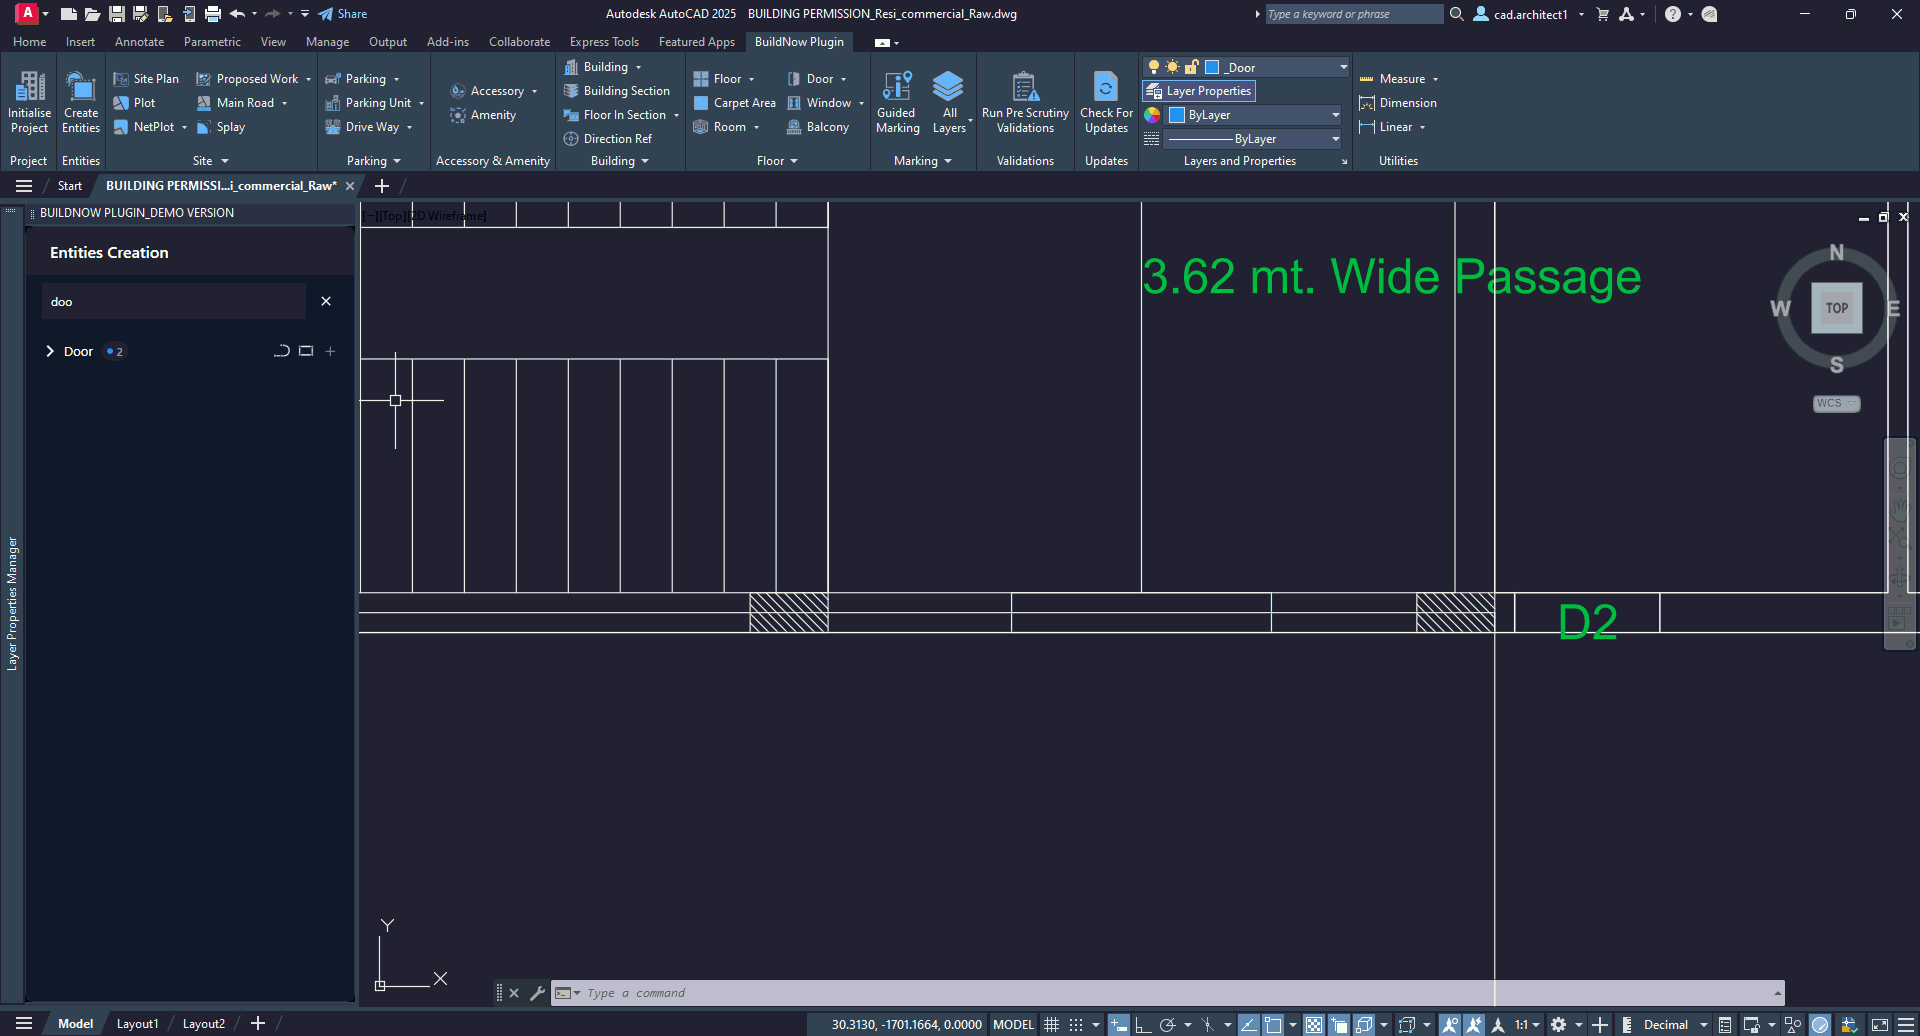
Create Marked Entities in Bulk
-
Create Marked Entities in Bulk using Presets.
Steps to create a preset
- Click on the "+" icon near an entity.
- Name the preset and add marking details.
- Reuse it whenever needed.
Example
Drafting Doors in an apartment.
- Create a preset named "Main Door 1" and use the same preset at all applicable locations.
-
Saves time by eliminating all your efforts in creating and marking the same entity type every time.
Use Layers
Click on "All Layers" dropdown to instantly switch between "All Layers", "BuildNow Layers" and "Other Layers", ensuring clear visibility of your progress.

- You can continue drafting your projects using your current practices.
- The methods mentioned above are additional features designed to simplify and enhance your workflow.