Guided Marking
In this section, you will learn how to easily complete marking your project. You will explore entity-by-entity guided marking, navigate across different entities, and learn how to select and mark multiple entities at once.
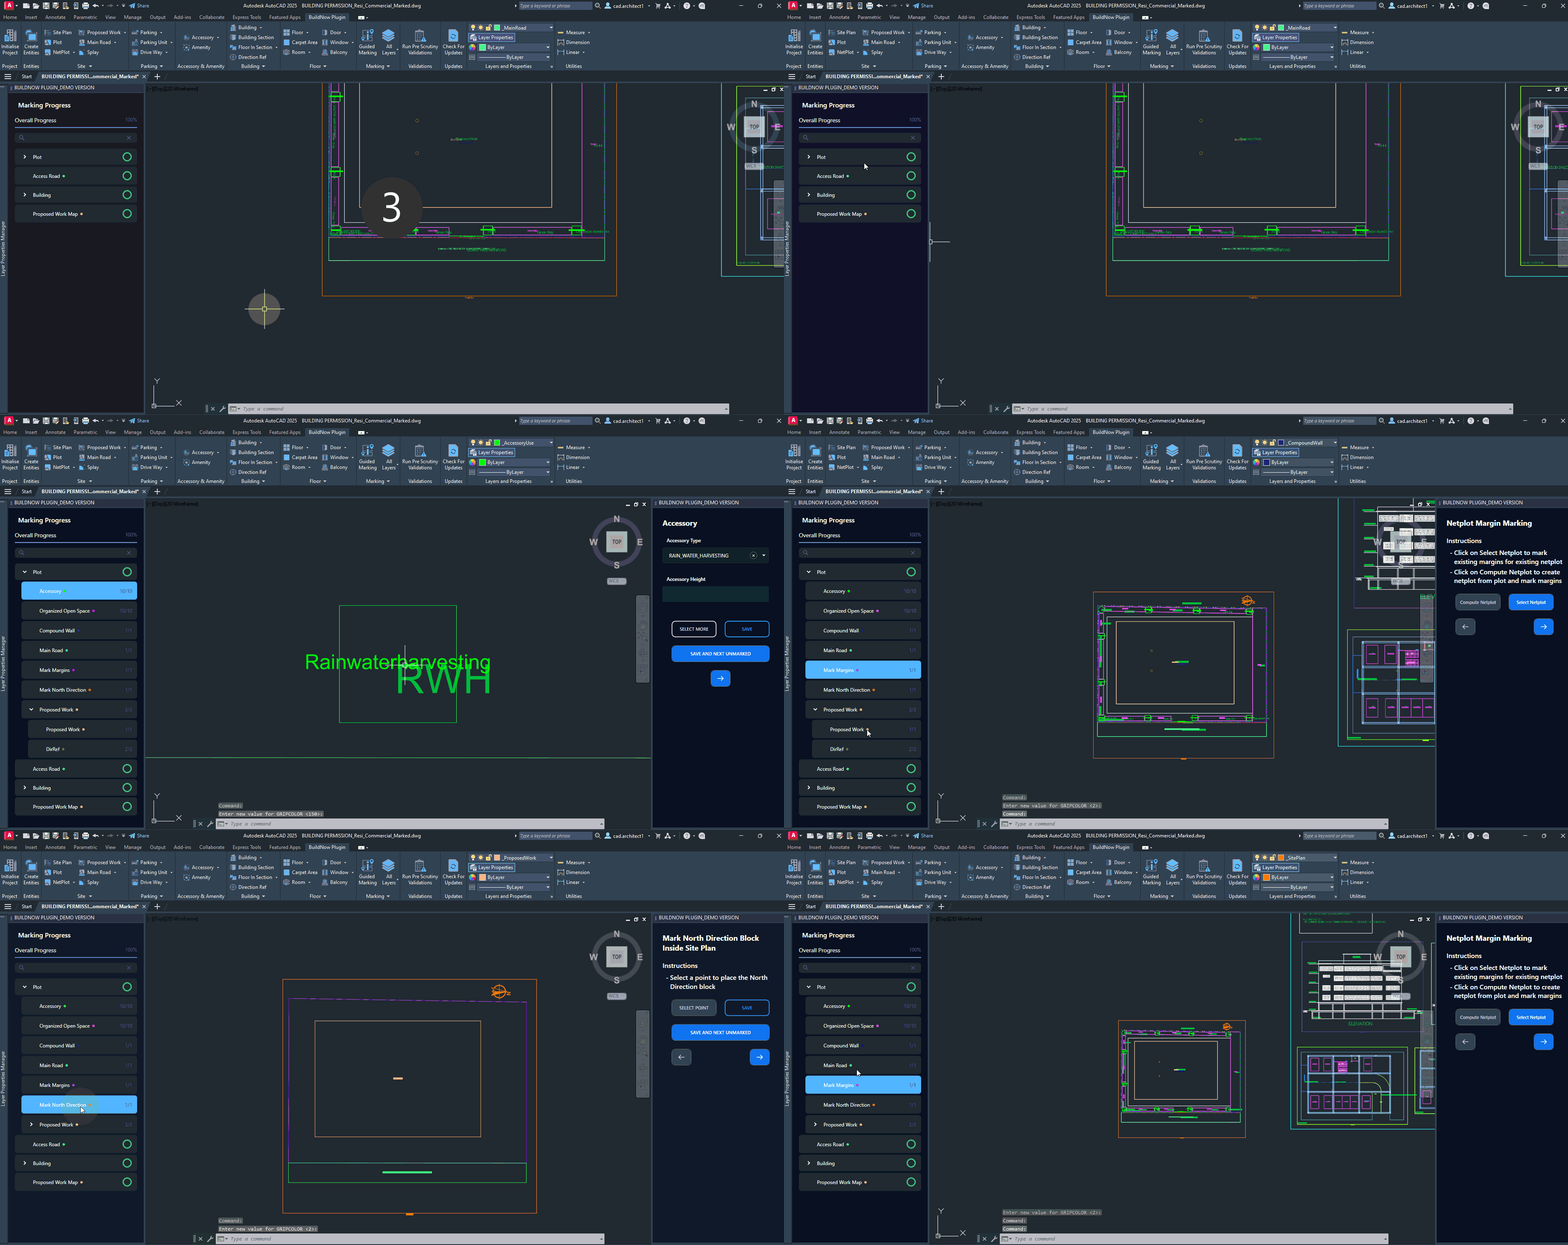
Track Your Marking Progress
- Click on "Guided Marking" button in the ribbon.
- Track your marking progress in the "Marking Progress" panel on the left side of the screen.
- View the overall percentage of marking completed for the project at the top.
- Monitor the completion status of individual entities.

Guided Marking Process
- Marking begins with the first unmarked entity in the "Marking Progress" panel. The entity currently being marked is highlighted in the drawing workplace.

- Enter marking details for the selected entity in the right-side panel & click "SAVE AND NEXT UNMARKED" to move to the next unmarked entity.

- Or, you can simply click "Save" to save the markings while remaining on the current entity.

Navigate & Mark Any Entity
- Click on any desired entity in the "Marking Progress" panel and switch between entities seamlessly.

- To freely navigate through the entities, use the "Left & Right Arrows" to navigate between them and add marking details.

Marking Entities in Bulk
Click "SELECT MORE" and select multiple entities. Enter the necessary details and complete marking for all of them simultaneously.
- Example: Select multiple "Organized Open Spaces" and mark them all at once.

Automatic Computation of Net Plot Area
Get the Net Plot area automatically computed without manual drafting.

Using these simple steps, you can complete Marking your drawing file.

